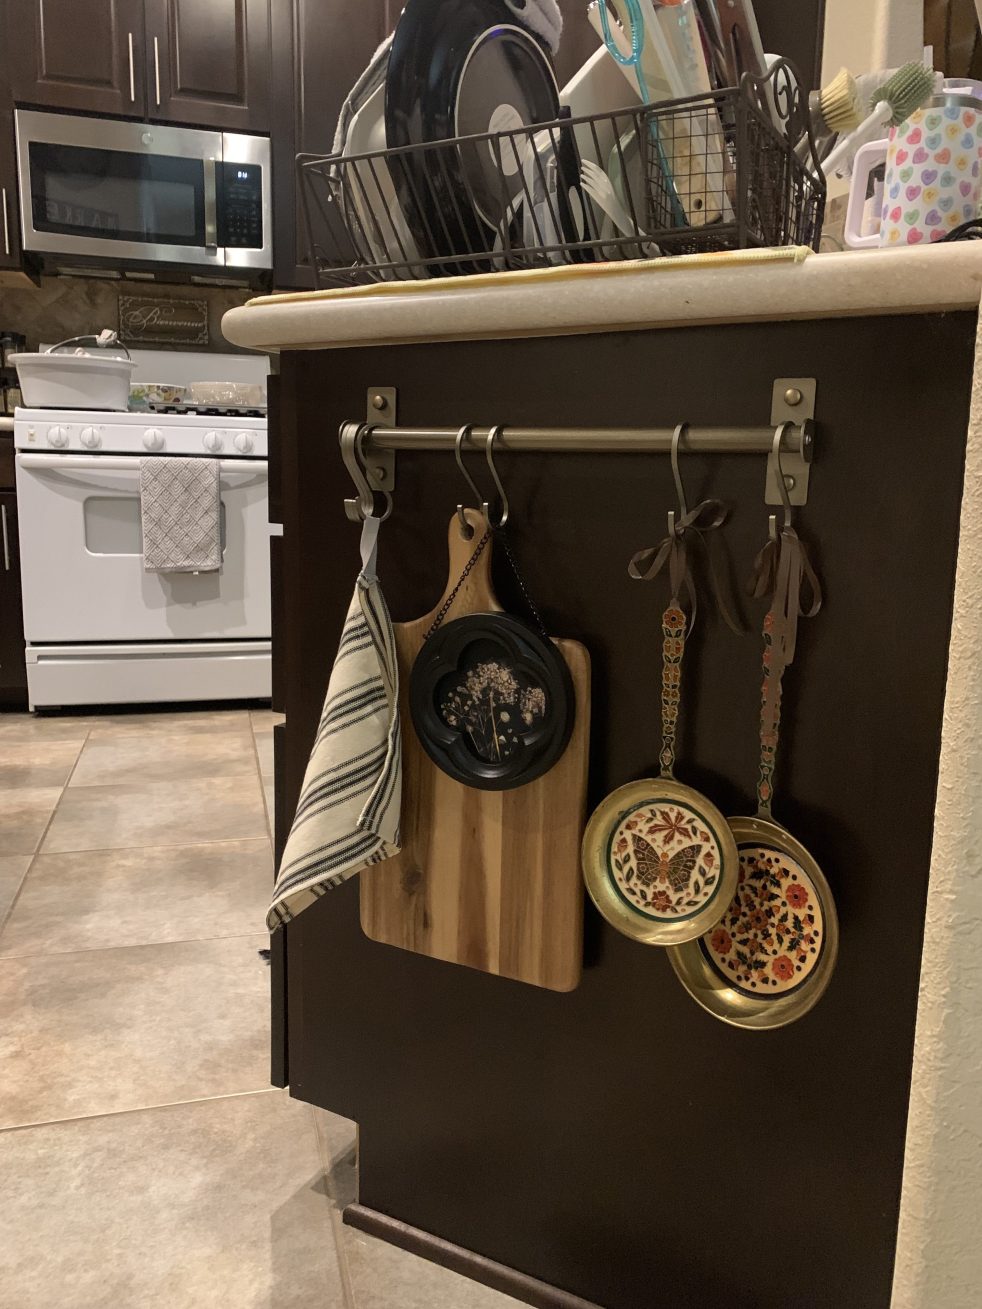
Home Decor

Weekend Thrift Haul

Hey friends! I hit the thrift jackpot this weekend and I’m so excited to share the goods!! Check it out below.

I saw this large, low profile serving bowl and immediately grabbed it. The colors make me think of Fall and I thought it would be nice to use for cooler weather dishes & sides. The leaf pattern goes around the outside of the bowl as well. I always do a gingerbread/sweet shoppe theme in my kitchen for Christmas and thought this tea towel would be a perfect addition for the hutch.

I’ve been decorating my bathtub area little by little the past few weeks and needed a bath rug. I spotted this one that still had the original tags on it. It’s the same color as my current towels and it’s so soft.

One thing I love finding in the thrift shops is greenery/plants. You can usually find faux plants and stems already potted or in a basket or vase of some sort for pretty cheap. I loved this little potted plant because it reminded me of greens growing in the garden. I thought it would be fun to display in my kitchen. Lord knows I love to grow plants but sometimes I love them too much and end up over/under watering them. lol. I am getting better at it though.

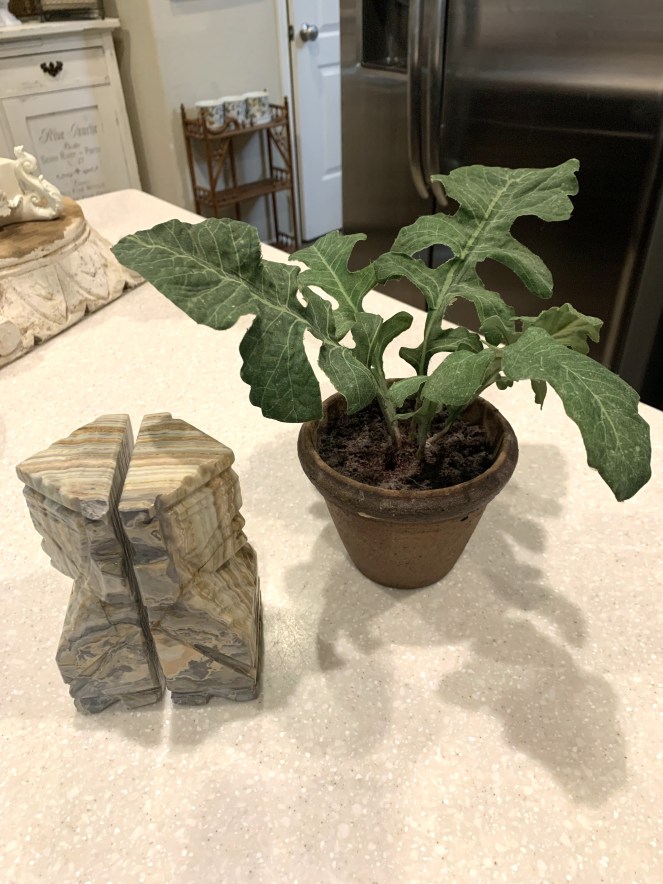
I have been wanting to find a pair of book ends, and it turned out to be my lucky day. I loved the pattern on these stone ones, so I grabbed these.

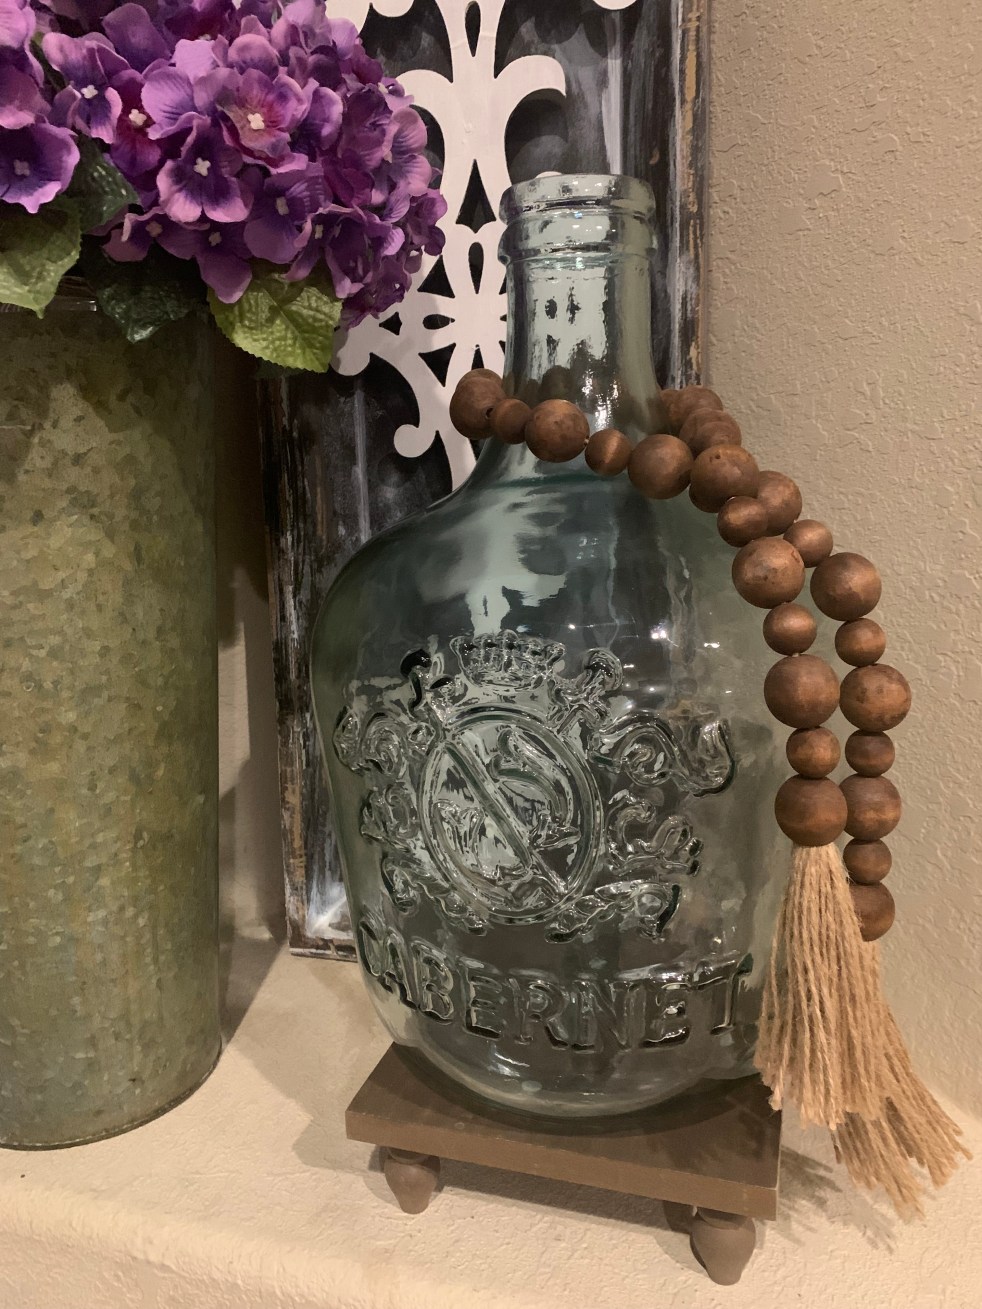
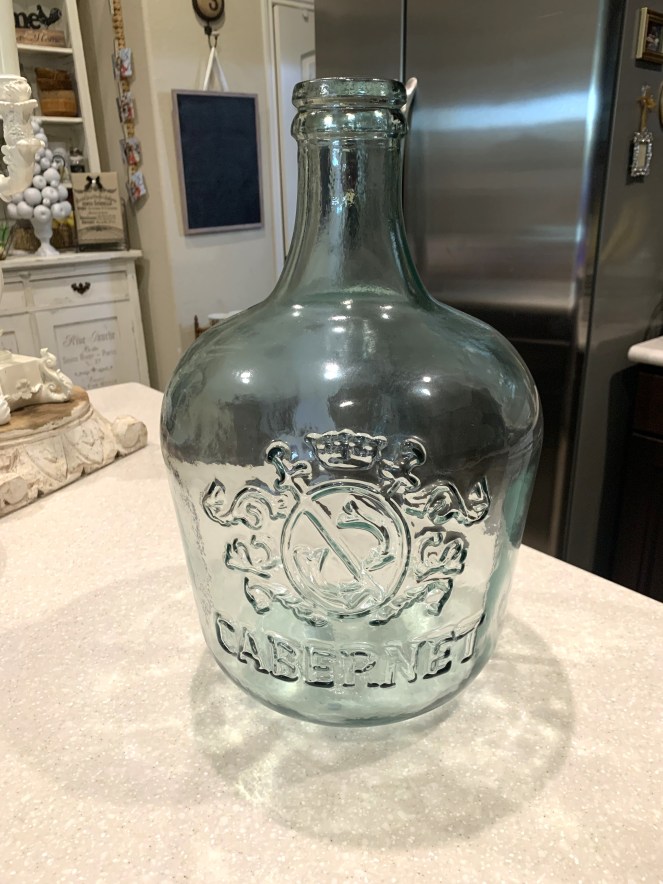
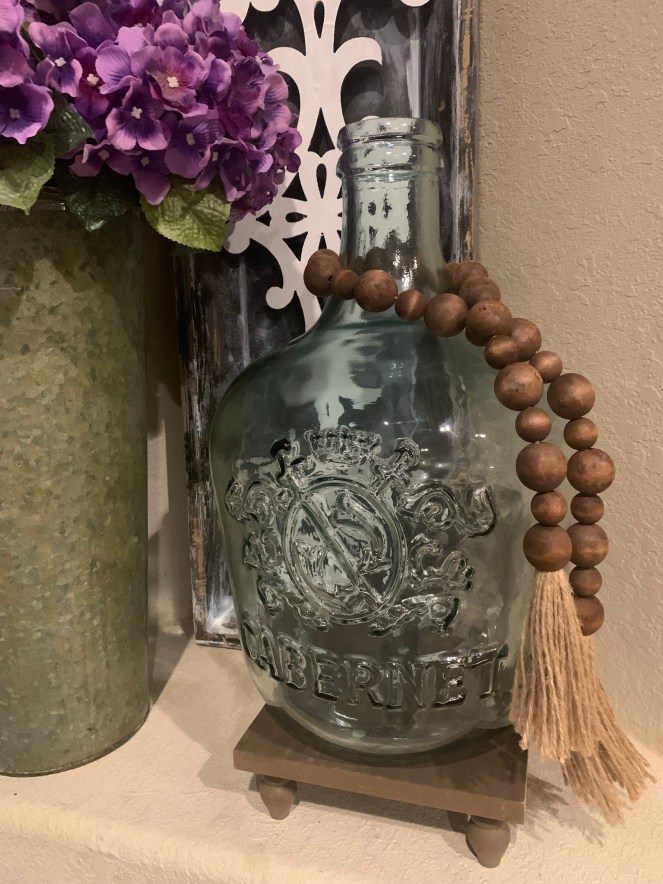
I was pretty happy about this jug here. I have been wanting one of these wine jugs for years! They are quite pricey online so you can imagine how excited I was to see this. And at only $10.00, it was a steal. I’ve already found a spot for it.

I will always buy architectural salvage if it’s at a good price point for me. The detailing is always beautiful and can elevate and add character to your home or furniture pieces. I will probably hang this over a doorway, but it would look really good hung over a bed or on a plain headboard. The possibilities are endless.

Saved the best for last…

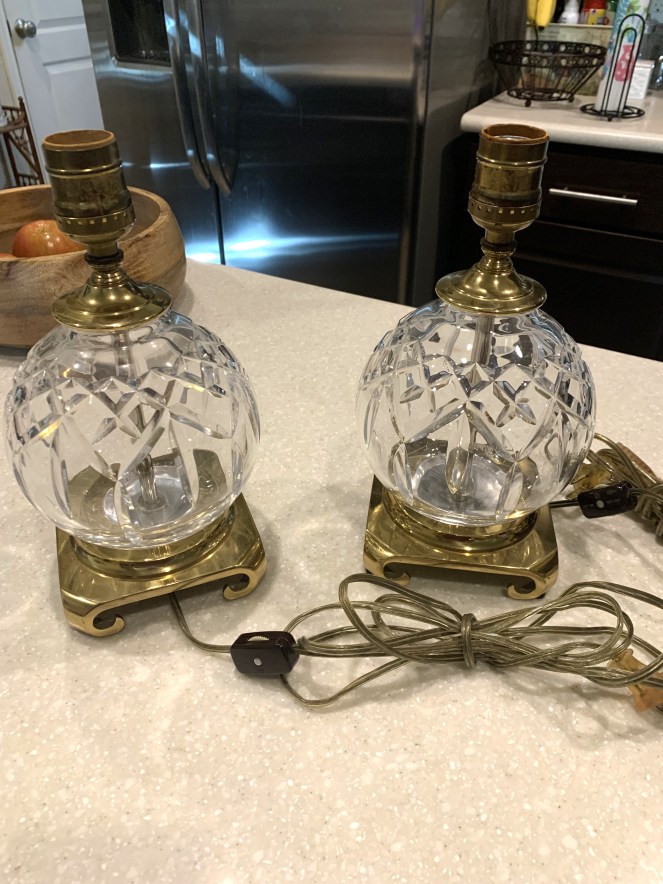
I walked right past these lamp bases at first. I stopped the next aisle over and looked at them again and circled back around. They were only $6.00 each so I bought them because I just loved the antique look. They are so dainty and fancy. After bringing them home and researching I found out these are Waterford Lismore Crystal lamps! I was super shocked but the most excited about this find. I have a lamp shade in mind I think would fit these perfectly, but I need to see if I can find the parts. Looks like I will need a lamp shade base that sits on top of the bulb. I will definitely share a pic when I get it all together.

I hope you enjoyed reading this and seeing my thrifted treasures. I hope your inspired to get out there and visit your local thrift shops. You never know what you’re going to find!

Thanks for stopping by,

DIY

DIY Romantic Academia Decor with a Thrifted Frame

Hey friends! I’ve got a cute mini project to share with you today. I’ve been collecting lots of decor goodies from the thrift shop for the past month and finally got one of these mini projects done. Take a look below to see how I re-use this photo frame to make a vintage, romantic, display.

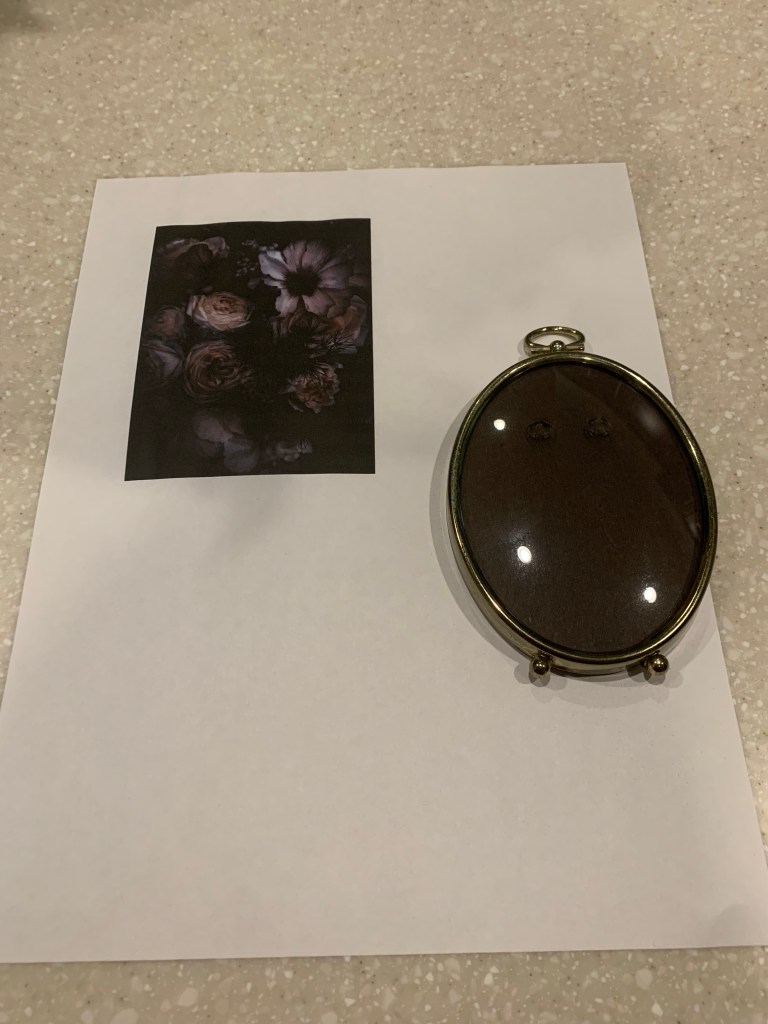
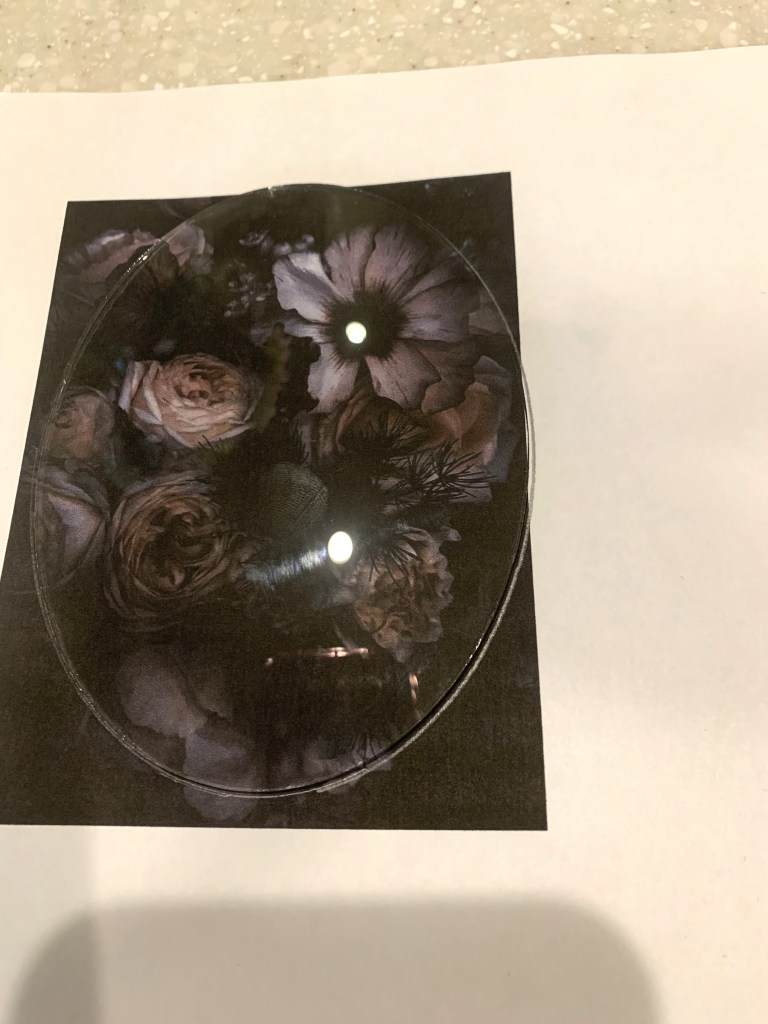
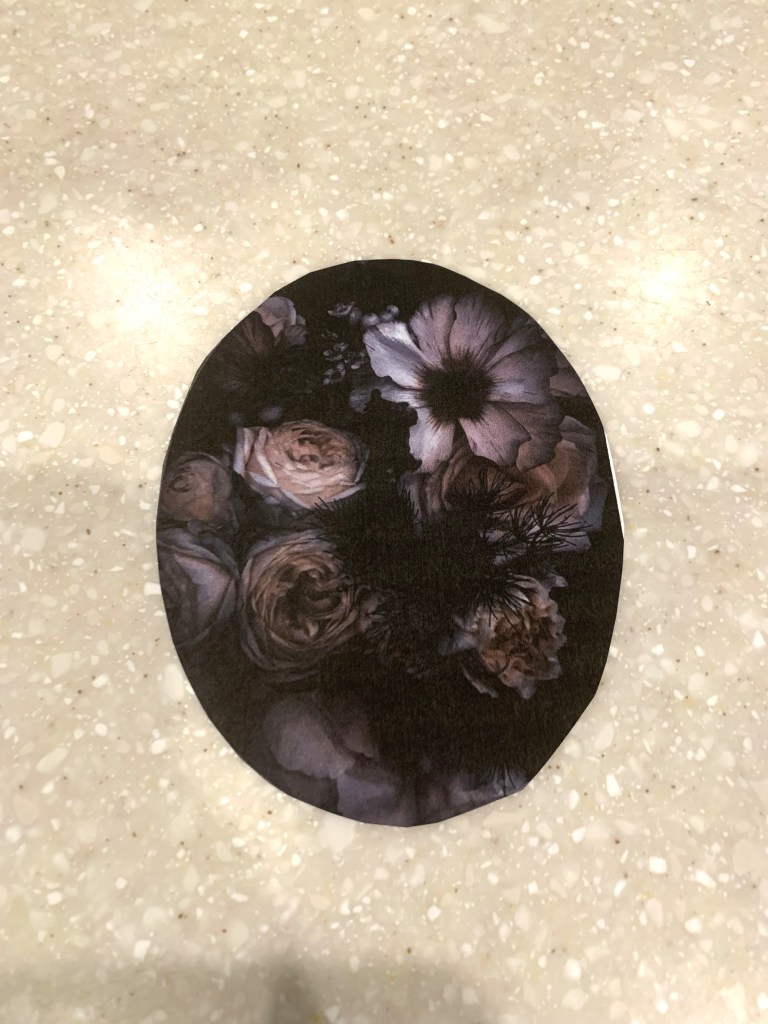
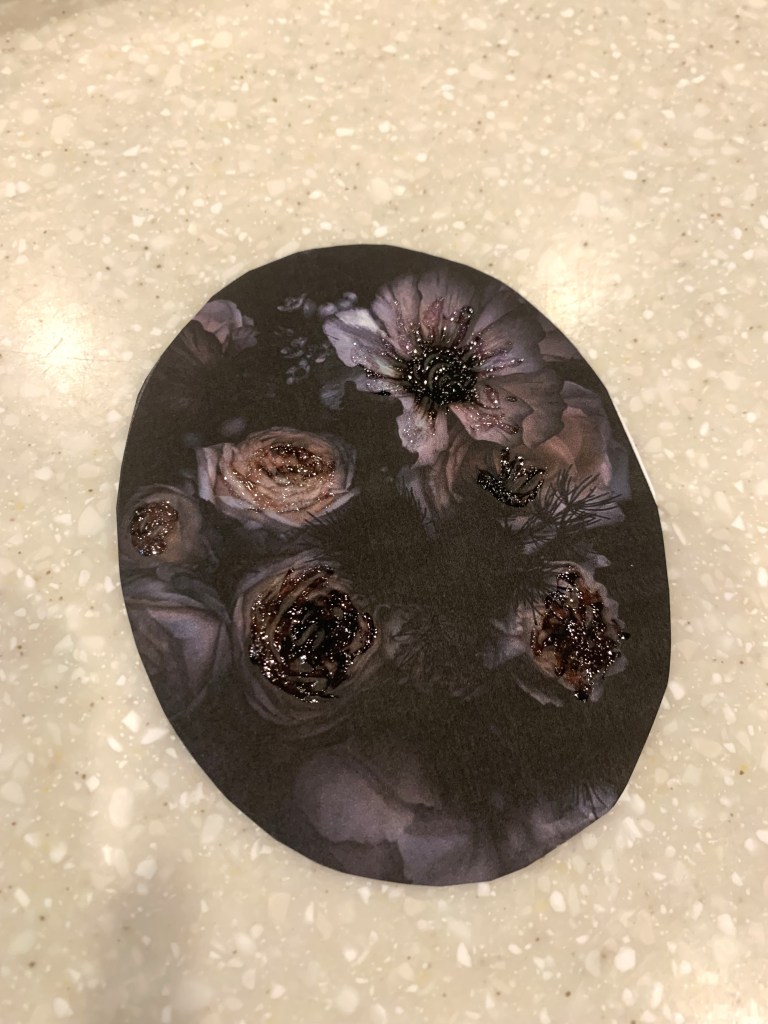
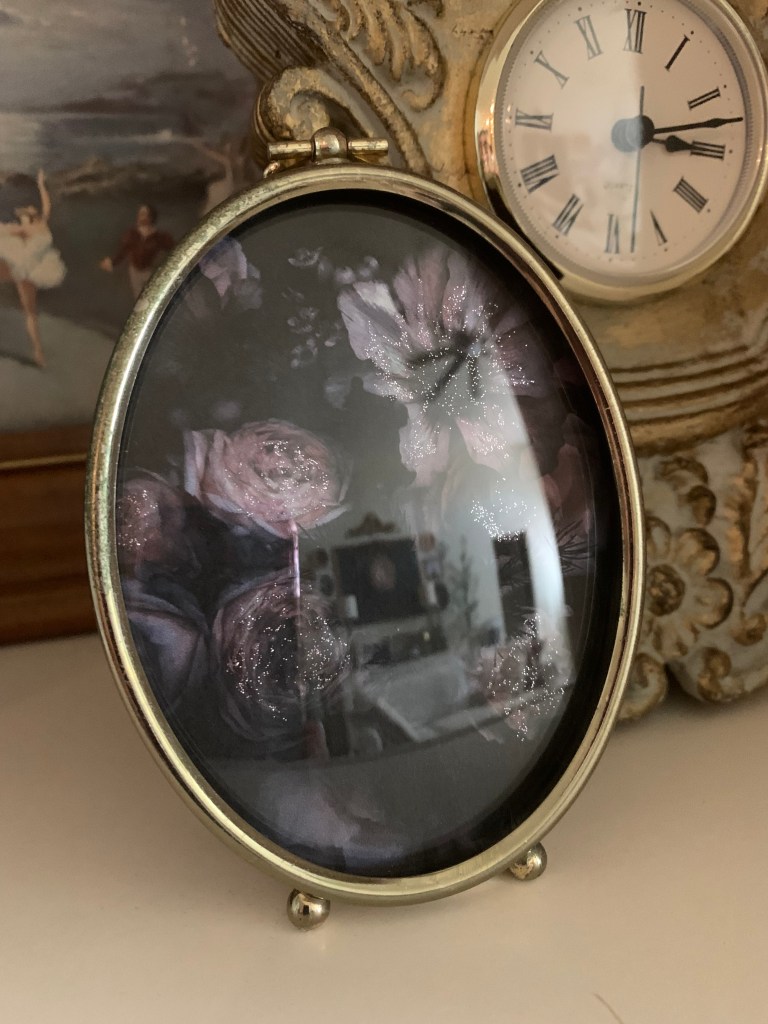
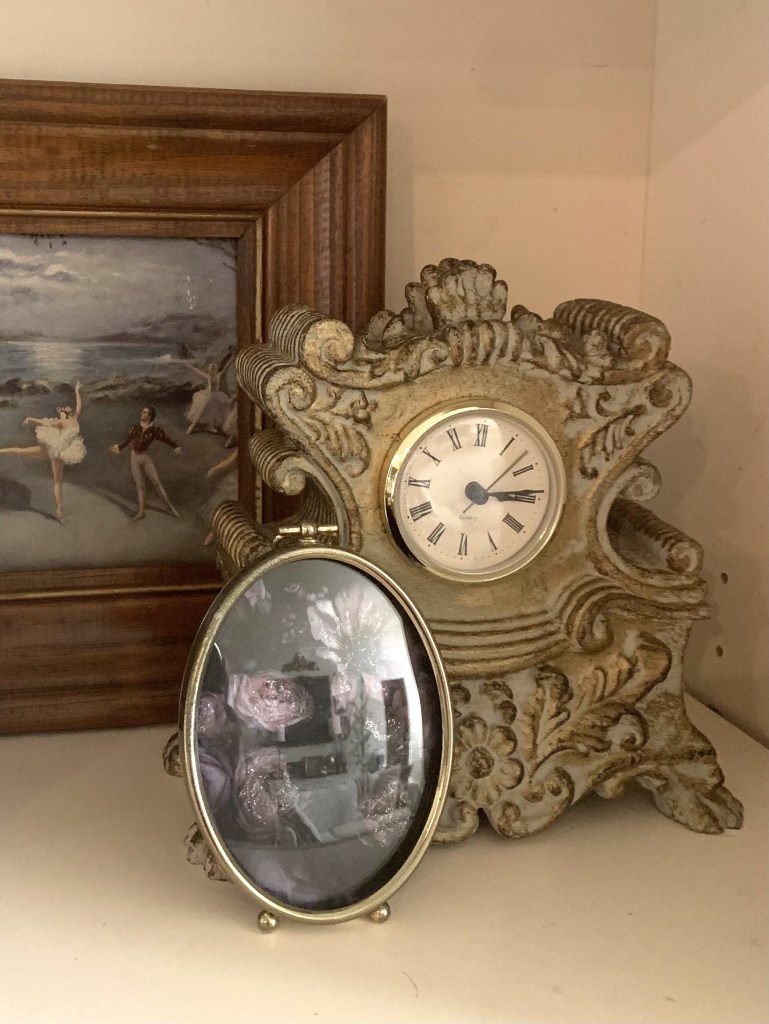
I found this vintage style phot frame at the store that I loved the shape of. I searched online for a photo I wanted to display and printed it out at a decent size for the frame. I think this one may have been a 4 x 5 or smaller. I centered the glass frame over the photo on the areas I wanted to show and traced around the edge. I trimmed the photo out and painted a bit of glitter glue to the flower areas I wanted to accent. I let this dry for an hour or so. Once it was dried, I added it to the frame.

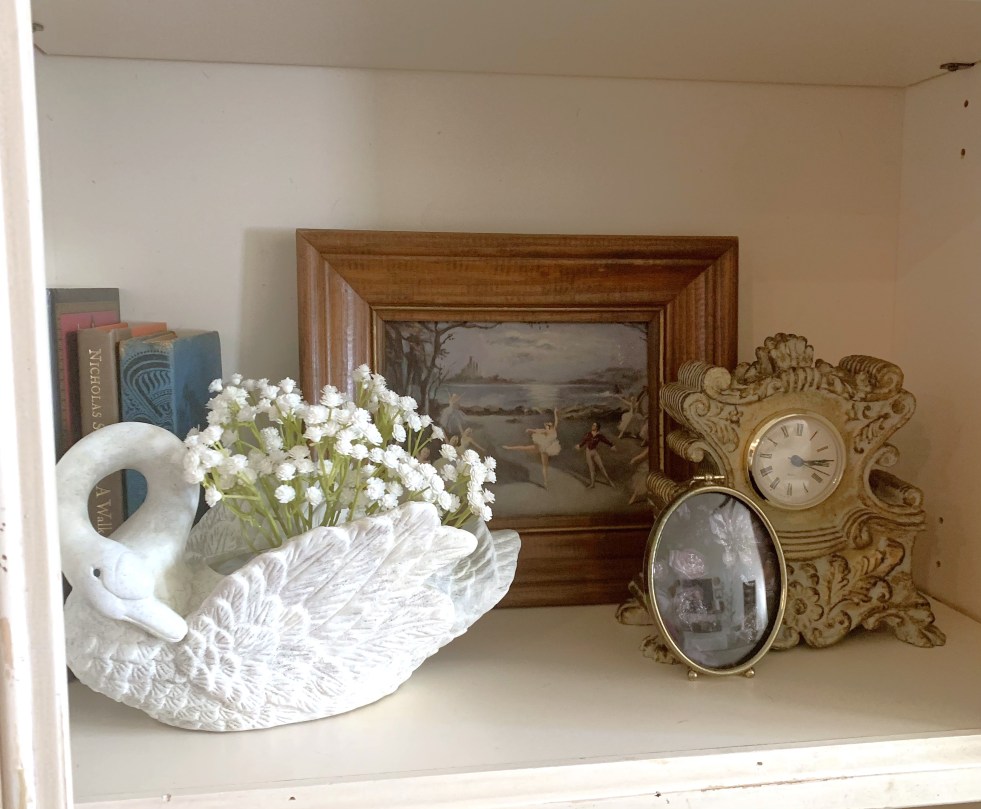
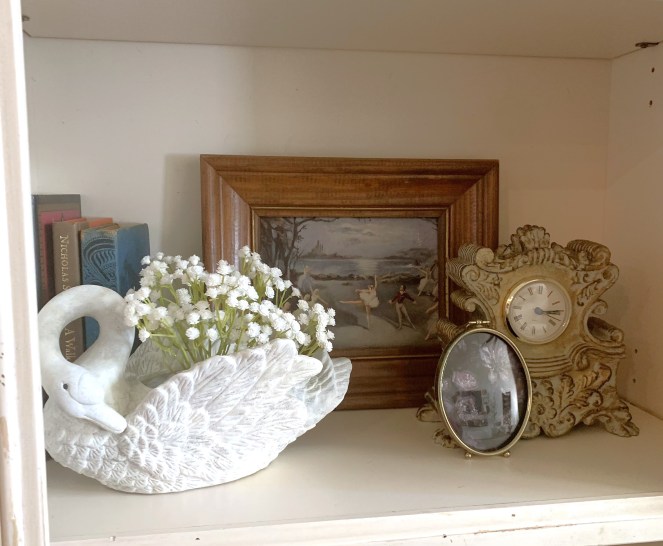
This was a quick and easy way to add some whimsy to this shelf. I found the small ballet painting the same day and styled it all together here.

It’s giving Swan Lake vibes and I am loving it!

I hope you enjoyed this mini project, and you’re inspired to create a small gallery of your own. Don’t forget to check out your local thrift shop to find some great vintage frames & art!

Thanks for stopping by,

DIY

Summer Treat Bag

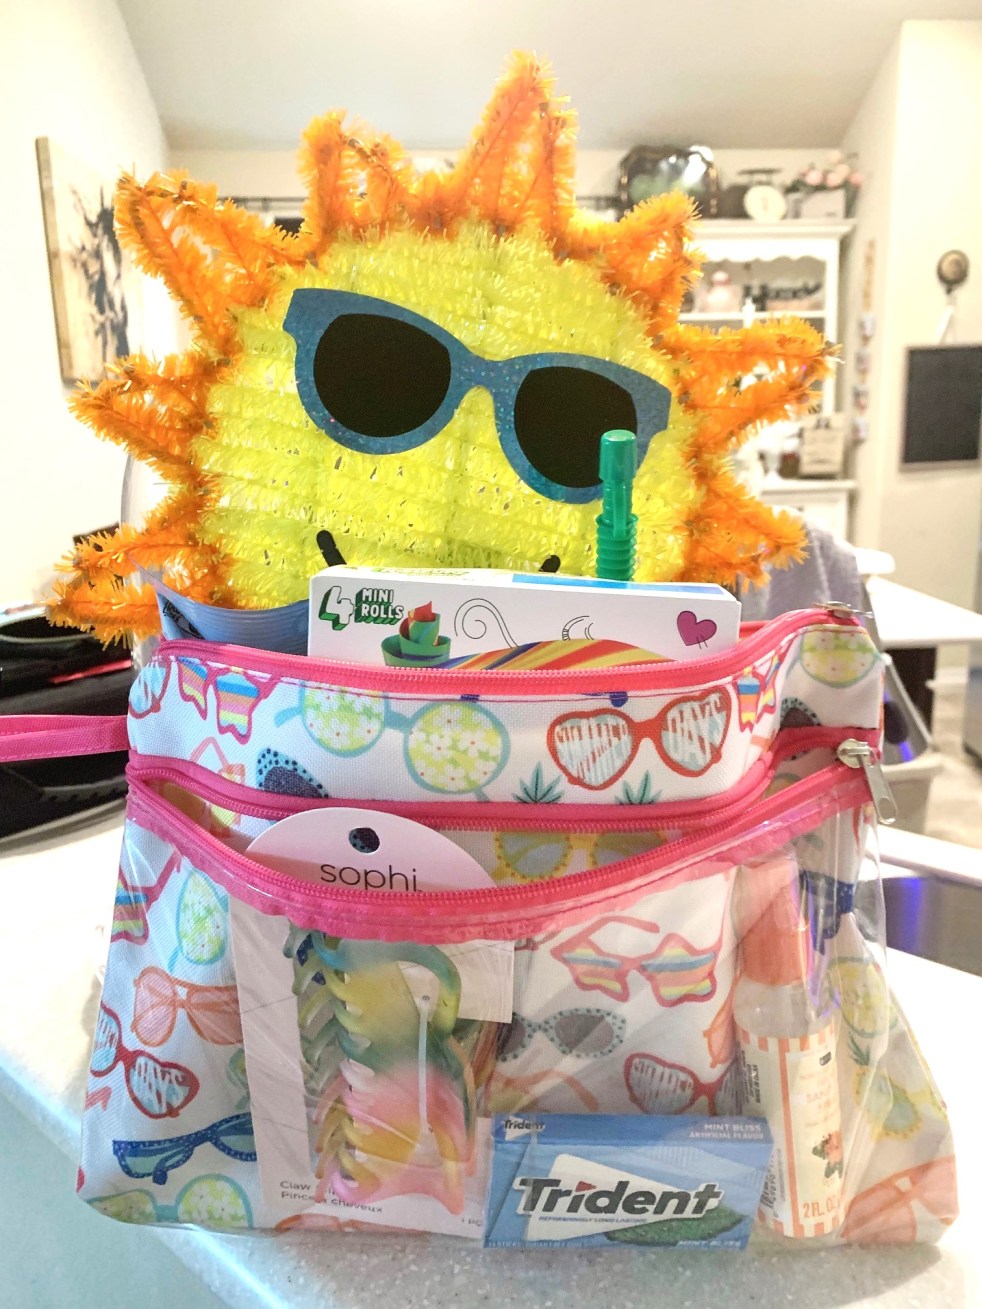
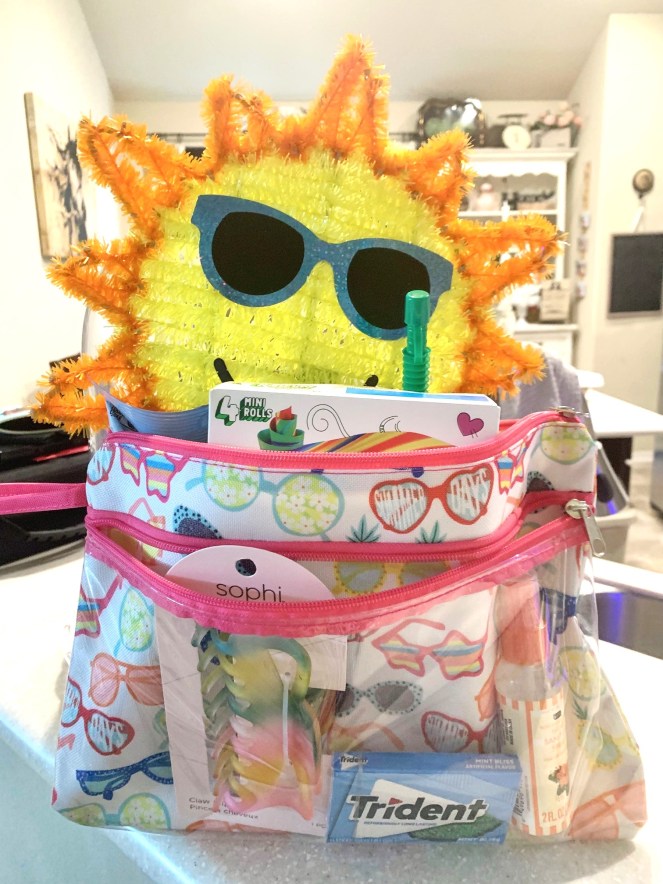
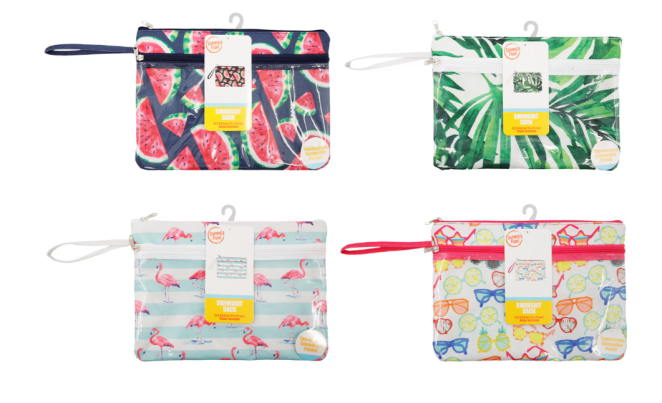
Hello friends & happy Summer! We’re ready for beach and pool days over here. Let me show you this cute summer treat bag I made for my tween. This would be fun to give for a special beach day or to kick off your summer. I found all the items from the Dollar Tree, and it cost about $15 to make. You can totally tailor this to your liking.

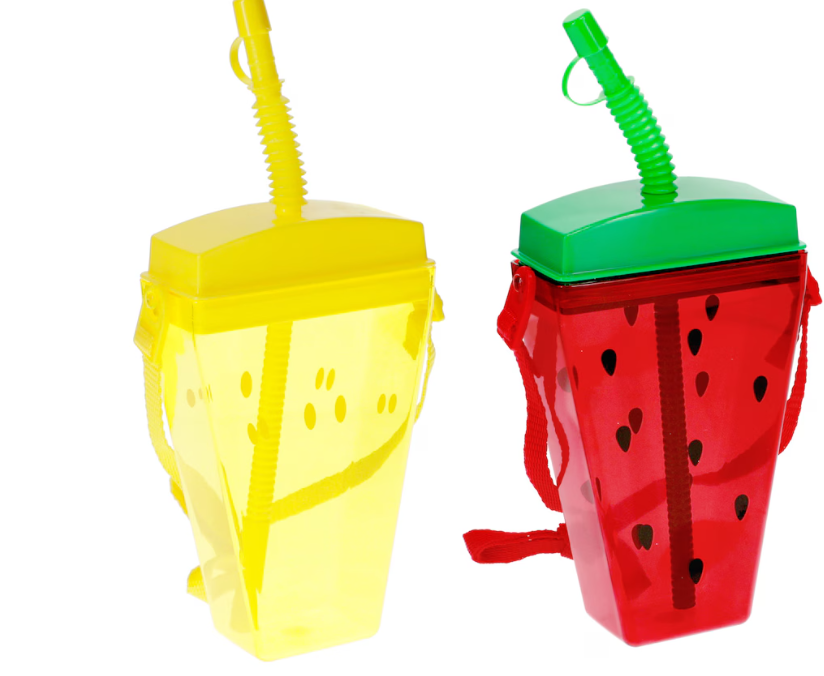
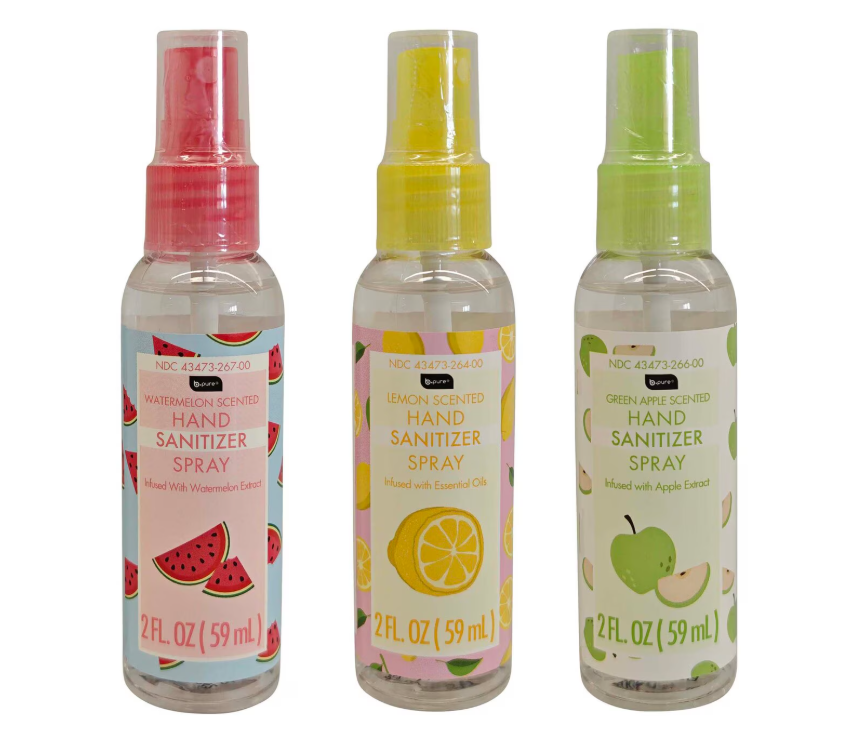
I started with this swimsuit wet bag for those summer camp swim days, as my base. I stuffed it with snacks, gum, sanitizer, & a fun strawberry cup all in a tropical theme.

I topped it with this little sun hanger I found in the seasonal section and that’s it! So fun & easy. The day I gave it to her I woke her up to Hawaiian Rollercoaster Ride from Lilo & Stitch playing thru the house. She loved it!

I hope you enjoyed this fun little project & your inspired to make a cute summer treat bag too!

Thanks for stopping by & reading,
DIY

Lazy Susan Tiered Tray

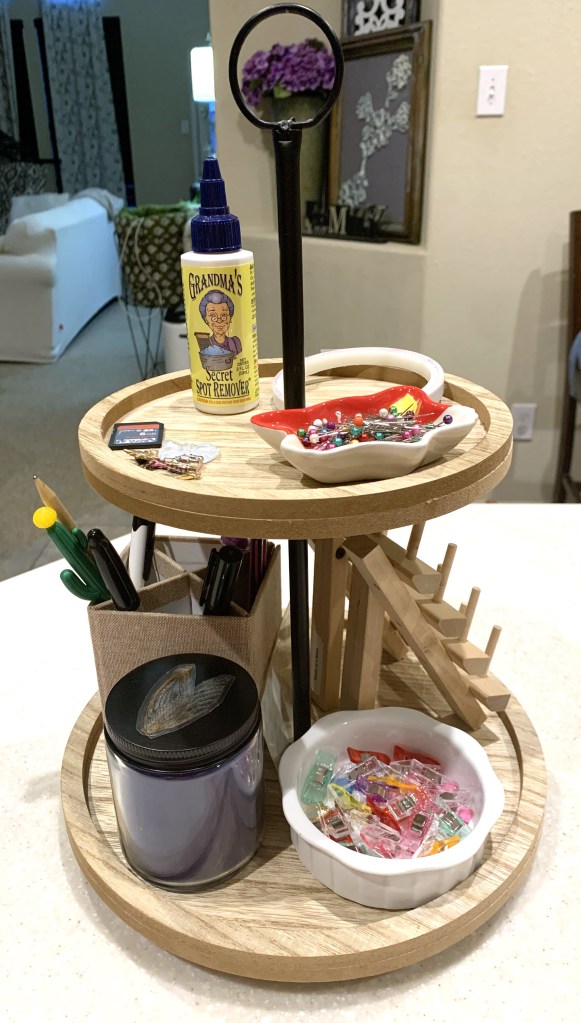
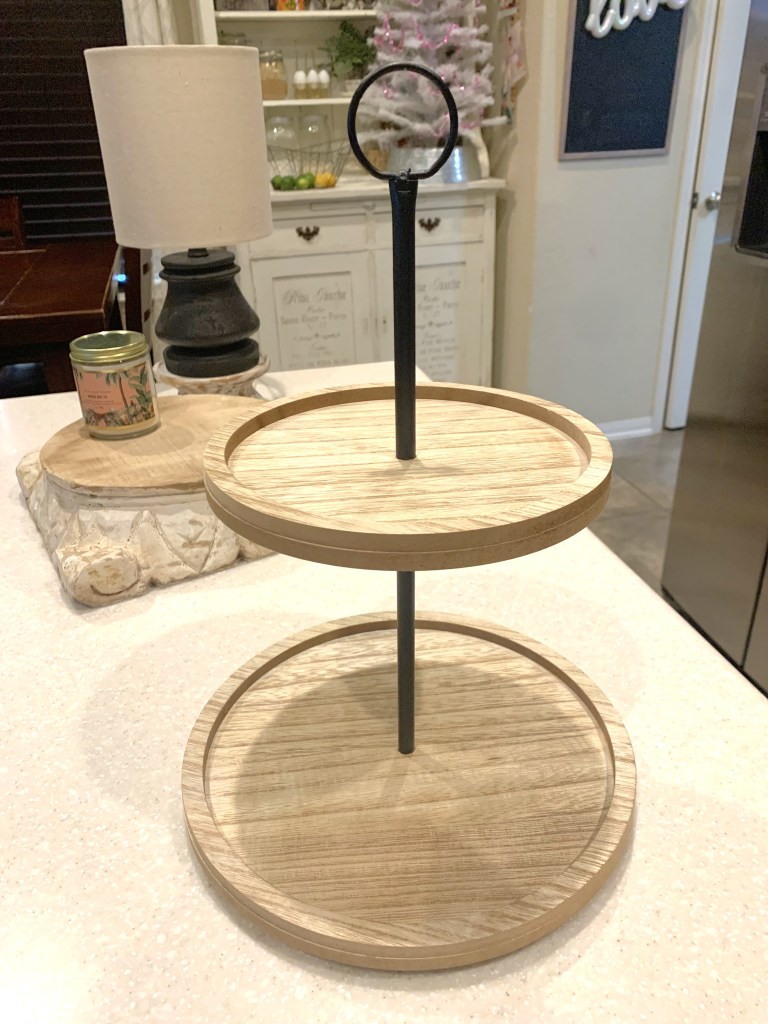
Hey friends! I’m sharing this quick, easy lazy Susan project today! I found a cute wood tiered tray set from Dollar Tree for $5.00. I had been wanting a lazy Susan for my craft room for some time now. I saw this tray and immediately got the idea to DIY my own. Check it out below to see how quick and easy it is!

You only need a tiered tray, lazy Susan hardware, & hot glue. That’s it!

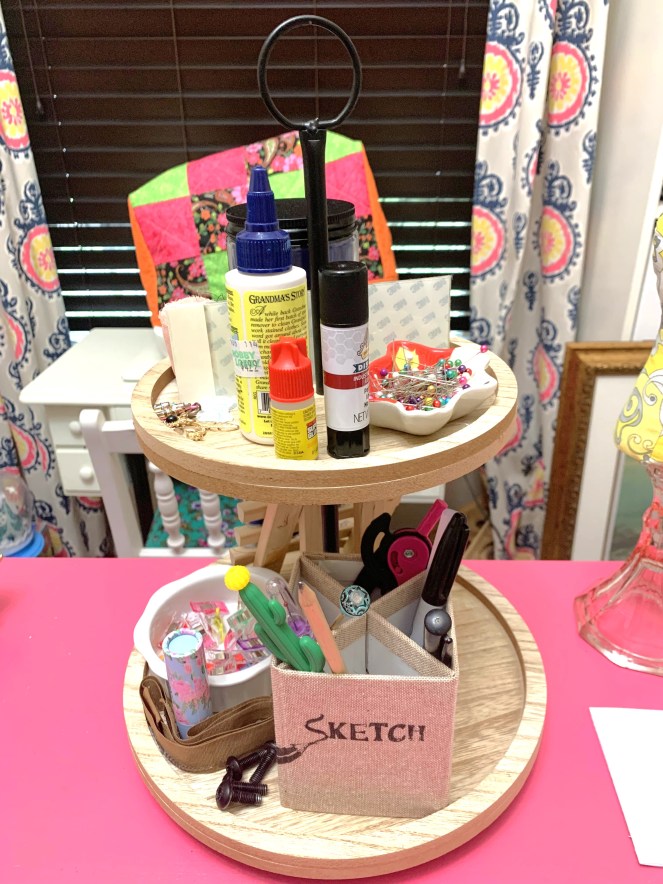
Here’s the dollar store tray. Super cute right? Totally inexpensive. I found the lazy Susan hardware on amazon for $9 (similar linked on photo). I centered the hardware and marked the outside holes for placement reference. I hot glued the rubber non skip pads to the metal first. I then placed glue on top of those pieces and affixed it to the wood using my marked reference guides. Be careful not to get glue in between the metal pieces or it won’t spin correctly. Here it is all finished!

This came together quickly and for about $15 total. Super happy to have it here at my desk for quick and easy access to my tools!

Hope you enjoyed this little project, and you get inspired to make one for yourself!

Thanks for stopping by,

DIY

DIY Moody Decoupaged Tray

Hello friends! Happy September! Fall is right around the corner, and I’m excited for all the Fall weather and fun activities. I started decorating my home with Fall decor this weekend. I also got rid of a few decor pieces I no longer wanted. I had this silver tray that I had painted with chalk paint displayed on top of my kitchen hutch. I was replacing it with this big, beautiful metal tray I found at the Goodwill.

How pretty, right? I was about to put the little tray I had in the donation pile and then I got an idea. “What if I decoupage an image to the tray and hang it as an art piece somewhere”? I totally got inspired by the larger tray.

First, I started by scrubbing the chalk paint off the small tray. You can find these trays at your local thrift or even a discount store like Dollar Tree, etc.

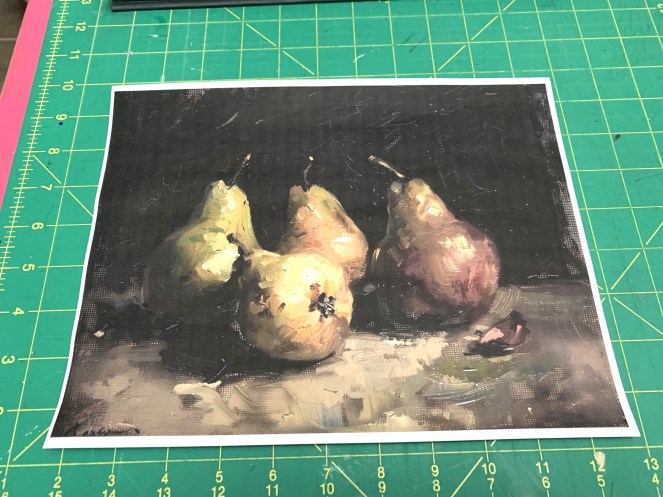
Next, I searched online for a moody, vintage still life art photo I liked. I wanted something classic that would look great in the kitchen year-round. I have a thing for pears, so I selected this one and printed to the size I needed. For the small tray I have, an 8 x 10 full page print was perfect. You can use any type of paper you like. I just used my regular printer paper.

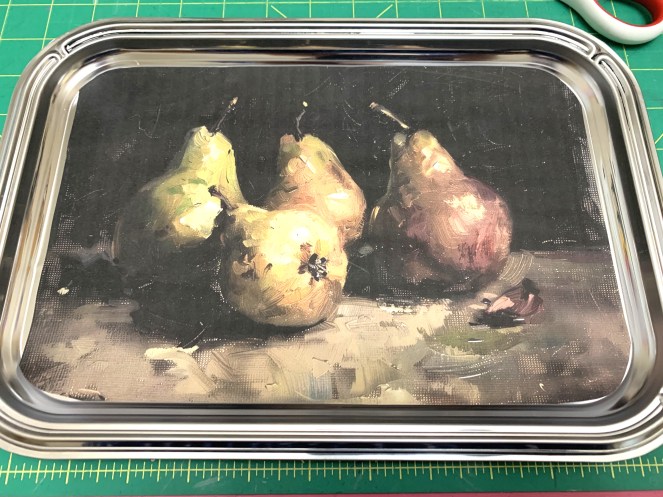
I placed the sheet on top of the tray and marked my rounded corners with a pencil. Using my scissors, I cut the corners I had traced so that my image fit perfectly in the center.

Here is where the fun, messy part comes in. I spread a layer of decoupage glue on the tray. You’ll want to use an old paint brush for applying. I placed the image on top of the glue and ran my fingers over to press out the air bubbles. I then added a layer of decoupage glue on top. You will want to spread it rather quickly and lightly, so you don’t mess up your picture. Some air bubbles and wrinkles will form. That is okay. Just work over them as best as you can. It is part of the vintage charm! Mine did have a few wrinkles in the end.

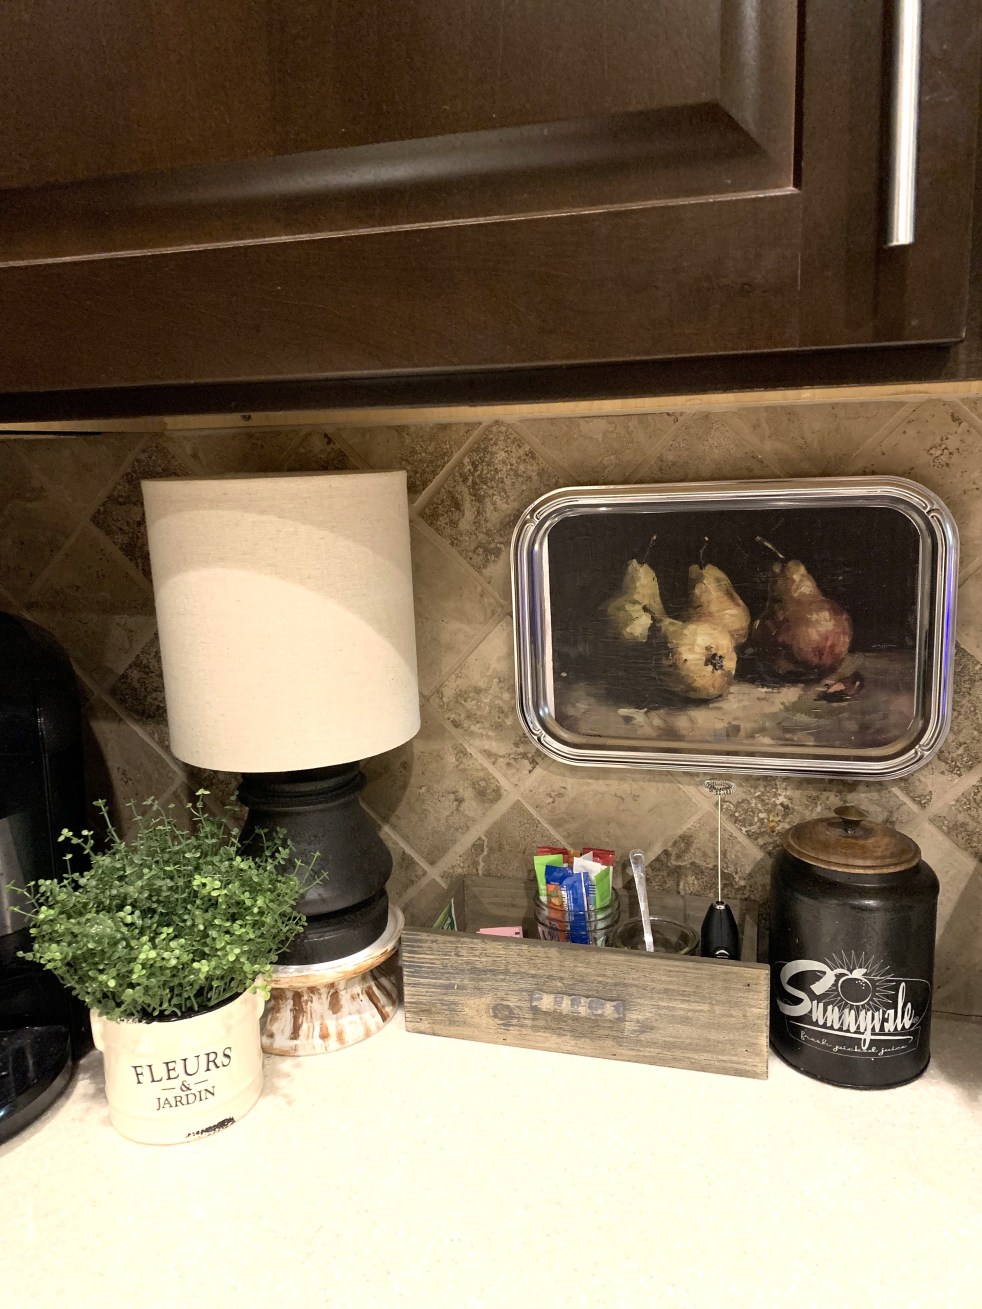
You’ll want to let this completely dry. Once it’s dry, the tray is done! Now you have a new art piece to hang. I used a small pair of command strips to secure it to my kitchen back splash. I think it’s perfect here!

Hope you guys enjoyed this little project and I hope you are inspired to create your own. This would be fun with some spooky images for Halloween, or a photo of just a few pumpkins. The possibilities are endless!

Let me know if you decide to make one. I’d love to see!

Thanks for stopping by,

Home Decor

Weekend Goodwill Haul

Hello friends! I found some cute things from the Goodwill store and couldn’t wait to share them!

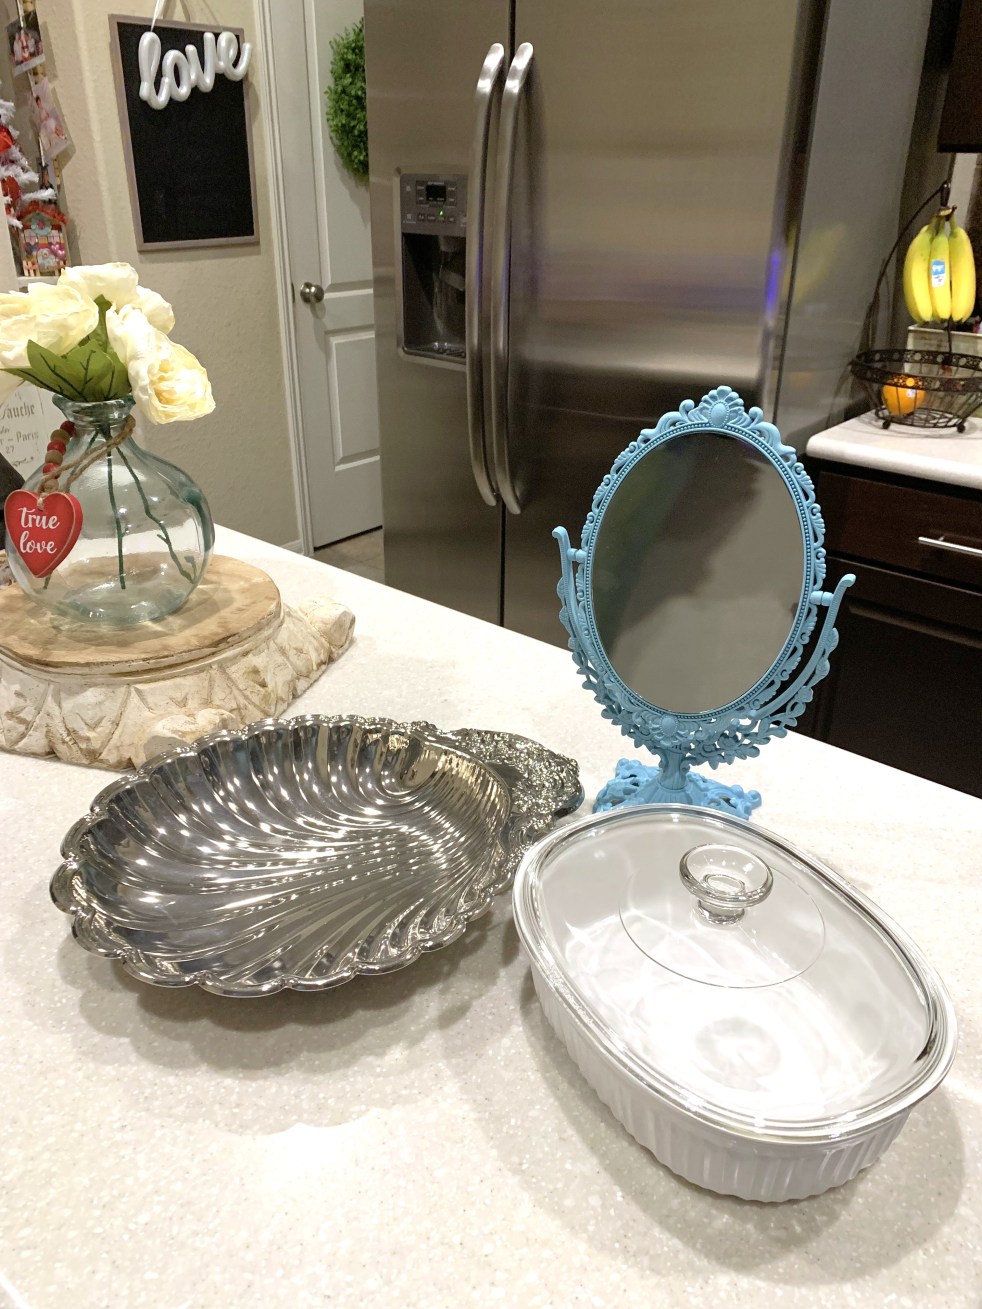
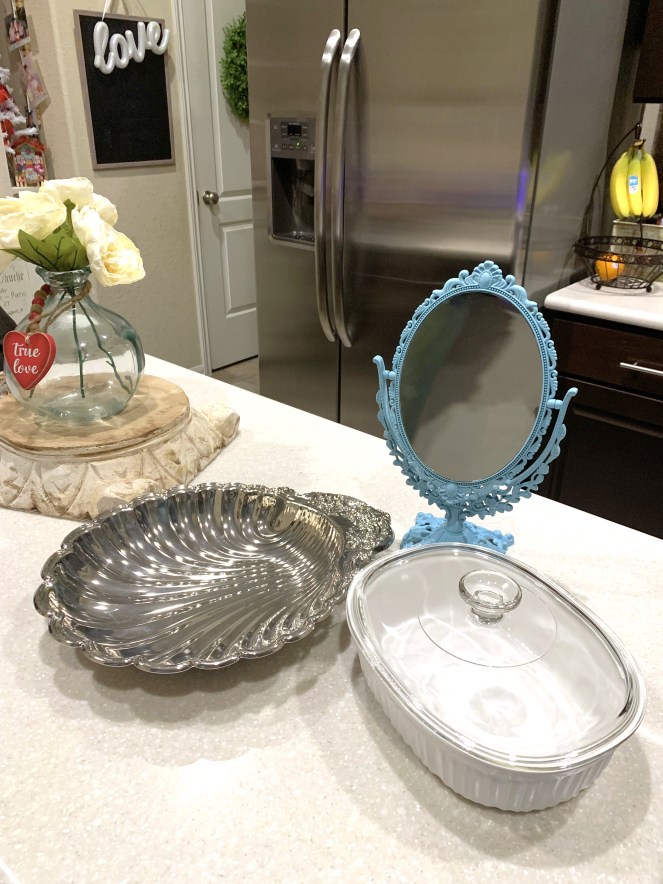
I found a really nice Corning Ware casserole dish with the matching lid in great condition! I gave it a thorough cleaning and it’s ready for cooking. I also found this beautiful vanity mirror. I wasn’t in love with the color but loved the detailing. I repainted it, and I can’t wait to show you that mini make-over in another post. It looks so good! When I saw this vintage silver scalloped serving tray, I had to have it. It’s so pretty and I can’t wait to find a place for it in the kitchen.

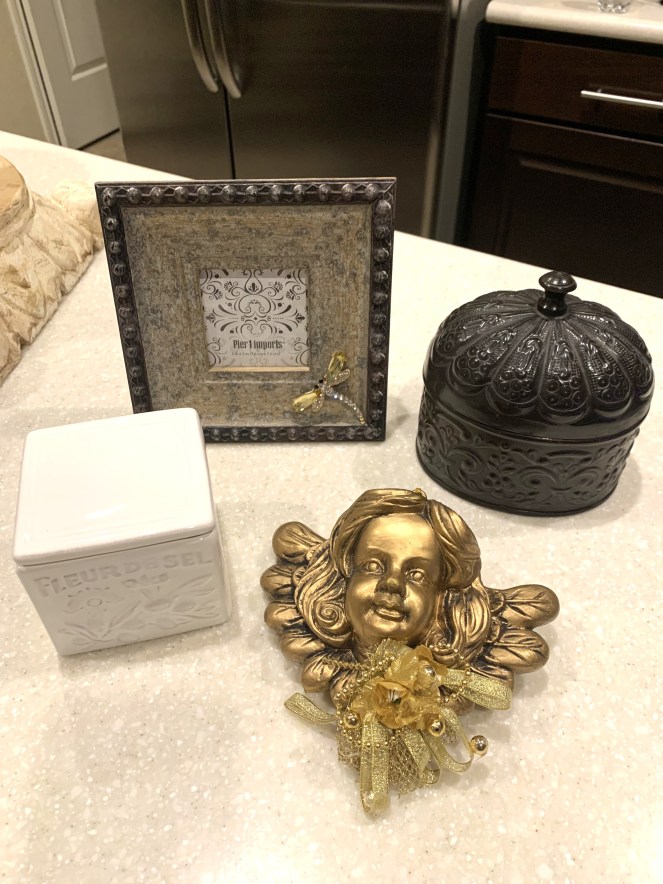
Here are a few more goodies I bought. I loved this little cherub ornament that can be used for Valentine’s Day displays. I also got this cute picture frame with a jeweled dragon fly.

I found the perfect salt box for my Parisian, Cottage kitchen. It’s a little ceramic dish and I can’t wait to fill it with my Celtic salt. It’s right next to the stove ready for cooking!

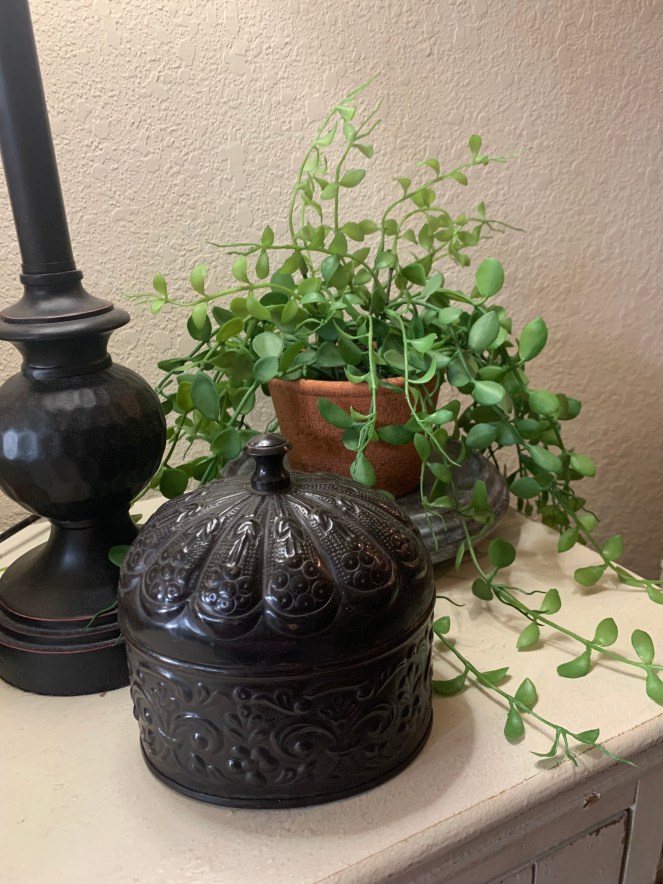
How pretty is this metal box? I saw it and instantly loved the detailing and texture. I have the perfect spot for it here next to my faux plant. Perfect cozy vibes!

That’s all for my haul! Let me know if you find any treasures at your local Goodwill. I’d love to see them!

Thanks for reading,
DIY · Home Decor · Uncategorized

DIY Wall Decor: Mixing Thrifted and New

Hey friends! It took about a year, but I finally got this pantry wall decorated and wanted to share it with you. It’s a mix of thrifted and new decor for the perfect Cottage/French farmhouse vibe. Check it out below!

It took me a few months to collect a few copper molds I liked from resale/thrift stores. I arranged them here on the wall with a few small screws. My favorite is the spoon!

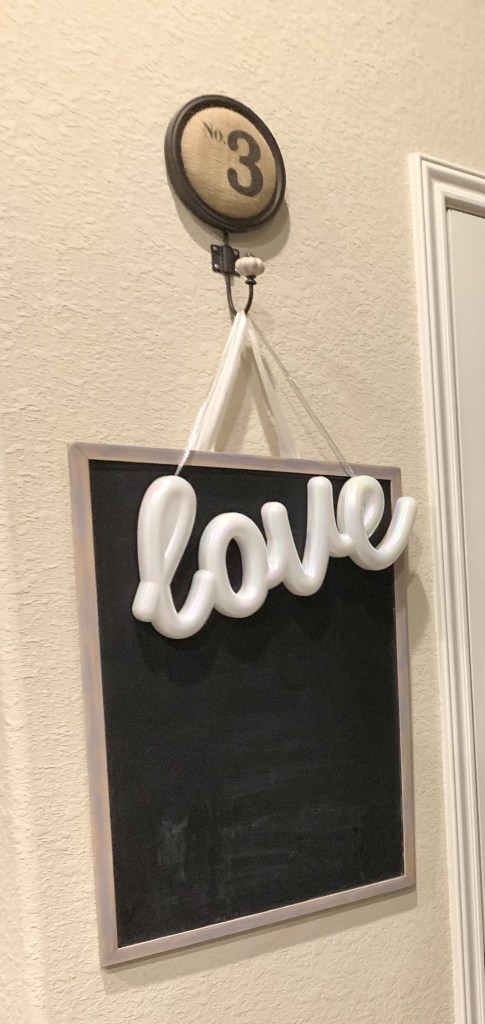
The chalkboard on the other side was a DIY from a year ago that I already had hanging. This is super easy and quick to make. You can find any size chalkboard and staple a ribbon or string to the back to instantly hang.

Another piece I already had hanging is this faux boxwood wreath. It’s the perfect way to add some greenery and warmth to this area. Add a bow and it’s ready to hang.

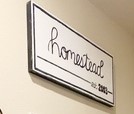
The last piece to add was my Homestead sign. I had this wall art piece that had an outline of a fish skeleton and was highlighter yellow! It was sitting around collecting dust and I thought it was the perfect size to make this sign. I searched and searched online for a style I liked and decided on this simple clean look.

I used 2 coats of Valspar Satin Ultra White paint to cover the yellow on the board and let it dry for an hour. After that dried, I measured an outside border, then free handed the word homestead with a pencil. Using a small artist paint brush, I traced back over the word with black craft paint. After a few hours of drying, I plotted my underline an est. word & numbers with a pencil. Once I got my placement down, I traced back over it with the black paint and let it dry. This was a little harder to free hand, but I took my time. If you mess up, you can just paint right over it and start again!

This sign didn’t take too long, and I was able to finish it over a weekend. It took one day to paint and then leave for drying overnight. I’m happy with the way it turned out and got the spouse to hang it as soon as possible!
I love mixing old and new together! It brings warmth, depth, & character into my space. Check your local discount stores and thrift shops often for unique & inexpensive decor pieces. I hope this inspires you to mix old and new together in your space!

Thanks for stopping by,

DIY

Reviving Thrift Store Decor: Faux Cake Makeover

Hello friends!

How delicious does this cake look? Like seriously, I want a bite every time I see it! Too bad it’s not real, but it sure looks that way thanks to a little cleaning and a fresh coat of paint.

I spotted this faux cake at the thrift store for $2.99. It was pretty dull and scratched up around the sides. I have plenty of faux desserts I use for decor throughout the year for the holidays and thought this would be great to add to my collection. Especially for Valentine’s Day!

First, I used disinfectant to clean then let it dry. I mixed a little brown and black craft paint to match the color of the “chocolate”. I did one coat & then let it dry before I added another coat. I let that dry overnight. Once dried, I went over the painted parts with one light coat of Modge Podge to seal it. Here she is all shiny & pretty on display! Doesn’t that chocolate icing look real?

If you’re out thrifting and see something you like but isn’t the right color, or looks a little worn down, don’t be afraid to buy it and paint it! It will make such a huge difference. A little cleaning & TLC can bring it back to life!

Hoped you enjoyed reading about this little mini project make-over. Thanks for stopping by,

Home Decor

2025 Thrift Haul: Unique Finds and DIY Ideas

Hello & Happy New Year! Hope you all are doing well and had a wonderful holiday.

I’m sharing my first post & thrift haul of 2025! I get so excited to share when I find things I love. I love a good haul, lol.

I love collecting white Corningware baking dishes! This one was in great condition and is the perfect size for a small casserole or serving dish. Then I found this cute little terra cotta house, I figured I can repaint it and turn it into a little gingerbread house for Christmas. I snagged a fun tassel beaded necklace, a Harry Potter themed velvet stocking, a brass reindeer tealight holder, and a little cozy manor house figurine for my bookshelf.
Another fun thing to collect are these glass cloches. I always get them in different sizes when the price is right to use in my decor. I will find a cute pan or cake stand and place these on top for a fun, whimsical display.

Here are the last few items I found. The cute little wooden storage boxes will go perfectly in my sewing room for buttons, etc. I loved this little welcome sign & it was only $1 so I had to get it.

I was so excited when I saw this Toile print lampshade and priced at only $5! The print is so pretty, and I love that it is in a neutral color. I want to add a lamp to my sewing room so I’m on the hunt for a little base now.

This was a good thrift shop day and I’m happy with all my goodies I found. I can’t wait to get started on my mini projects. Hope you enjoyed my little haul, and hope you find some treasures too!

Thanks for stopping by,

Recipes

Family Dinner Faves: Chicken Parmesan Meatball Alfredo with Asparagus & Mushrooms

Hello! Hope you all are doing well. I have a new recipe to share!

Today I’m sharing one of my family favorites: Chicken Parmesan Meatball Alfredo. This is so good and comes together fairly quickly. I made my own meatballs, but you can use store bought if your pressed for time and it will be just as good. I served it alongside a bagged Ceasar salad kit for a balanced meal. Read on below to see pics & how I made this.

For the meatballs:

you will need 1lb ground chicken (you can skip this if you want to sub with readymade meatballs)

1 egg

1/4 cup. breadcrumbs

1/4 cup. shredded parmesan cheese

seasonings of choice (I used a sprinkling of Italian, Garlic, Onion, Salt & Pepper)

For the sauce:

1 jar alfredo sauce of choice

Olive oil for sautéing

1 bunch of chopped broccoli

1 cup chopped mushrooms

pasta of your choice (I used a chickpea pasta for fiber and lower carb content)

I started out with seasoning my ground chicken, then added egg, breadcrumbs, & Parmesan cheese. I mixed that up and then scooped the meatballs onto a greased pan using my cookie scoop. I cooked these in the oven about 25min or until golden brown.

While the meatballs cooked, I boiled & drained my pasta and set it aside. I then sauteed my chopped mushrooms & asparagus.

Once the mushrooms were tender and my asparagus had turned bright green in color, I added my pasta back to the pan. I stirred in 3/4 jar of alfredo sauce and seasoned to taste with salt, pepper, garlic, & onion powder. I let this simmer for just a couple of minutes to blend all the flavors together.

After the meatballs were done in the oven, I added them to the pan of sauce & stirred in the remaining sauce, and a 1/4 cup of milk to help loosen the sauce and get the meatballs coated.

Here is the finished pasta all melted together. So good and filling! I plated this up and added a little sprinkle of shredded parmesan cheese & a side salad for balance. So good and comforting.

I hope you enjoy this in your home with your family! Thanks for stopping by. Until next time….